
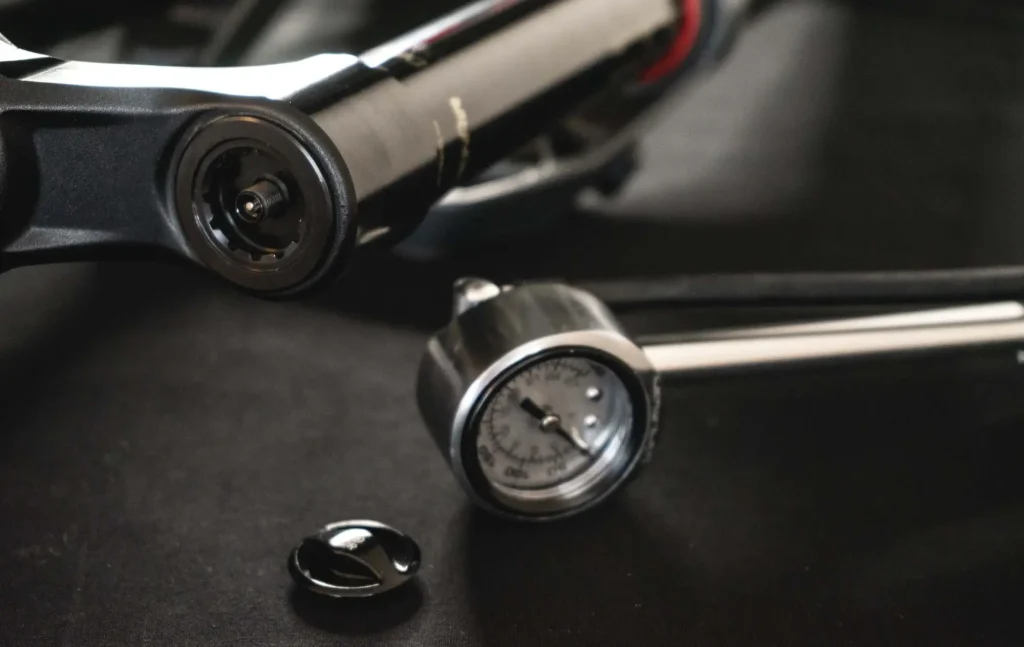
MTB PSI Calculator: How to Read a Shock Pump Correctly
Inconsistent shock-pump readings often come from the pump hose filling with air when it is connected to the shock. That pressure change can make the gauge look lower than expected. This guide explains how to check pressure consistently and use an MTB PSI calculator without chasing a false reading.
Quick answer: why does shock-pump pressure change when connected?
Connecting a shock pump fills the hose and increases the air volume connected to the shock, so the gauge may show a lower pressure than the shock had before connection. Connect the pump once, read it consistently and avoid repeatedly adding air based only on a single gauge reading. Use measured SAG to confirm the setup on the bike.
Why shock-pump pressure readings change
Your bike’s shock has a small air chamber, significantly smaller than a car tire or even your bike tire. When you attach your shock pump, the line of the pump needs to be filled with air, effectively increasing the volume of the air chamber. This sudden increase in volume causes a drop in pressure. As a result, your pump might show a pressure reading that is 10 to 15 psi lower than the actual pressure in the shock. In cases of extremely high initial pressure, the reading could be even lower.
Repeatedly connecting and disconnecting the pump without pre-charging can even lead to draining the shock over time, causing consistent low readings and impacting your riding experience.
Why pre-charging affects an MTB PSI calculator
New riders often encounter this issue because they might not be familiar with the concept of pre-charging the pump. You might hear them say, “Every time I check my suspension, it’s lower.” This isn’t due to a leak or a fault in the shock itself but rather the method of checking the pressure.
How to pre-charge your shock pump
Here’s a step-by-step guide to pre-charge your shock pump and get accurate readings:
- Attach the Pump: Start by threading your shock pump onto the valve of the shock, but stop just before it opens the valve.
- Pressurize the Pump: Before the valve opens, pressurize the pump to match the estimated pressure in the main air chamber. This step aims to equalize the pressure in the pump line with the main chamber.
- Open the Valve: Once the pump is pressurized, finish threading the pump onto the valve, allowing the pressures to equalize without causing a significant drop or spike.
- Check the Reading: The reading on your pump should now be much closer to the actual pressure in your shock, typically within a psi or two. In method helps the MTB PSI Calculator of the pump to show correct values.
Using an MTB PSI calculator step by step
An MTB PSI calculator can be a handy tool for fine-tuning your suspension setup. These calculators help you determine the optimal pressure for your specific riding conditions and weight. By inputting details such as your weight, bike type, and riding style, the calculator provides a recommended PSI range for your shock. This can help you achieve a more accurate and personalized setup.
Fine-tuning your suspension setup
This technique is particularly valuable for riders who are fine-tuning their suspension setup for specific conditions. For example you have a race weekend or dialing in a new bike to match their riding preferences. Accurate pressure readings, aided by an MTB PSI calculator, are crucial for optimal suspension performance. So your rides will be smooth and controlled.
Conclusion
Pre-charging your shock pump is a simple yet effective technique to avoid common pressure reading errors. By following these steps and using an MTB PSI calculator, you can ensure that your suspension is set up accurately. This will enhance your riding experience and performance. Whether you’re a seasoned rider or new to the sport, mastering the use of your shock pump and leveraging an MTB PSI calculator are essential skills. This will also help you to maintain and optimize your bike’s suspension. Happy riding!

Download SAGLY, a complete mobile guide, which helps you set up your MTB settings and maintain your bike.

Continue with related MTB suspension guides
Use these practical SAGLY guides to continue tuning, troubleshooting and maintaining your mountain bike.
- Understand why a shock pump reads lower
- Find a rear shock pressure baseline
- Understand MTB shock pressure in changing temperatures
- Set up a rear shock on a mountain bike
MTB shock-pump and PSI FAQ
Why does a shock pump lose pressure when I disconnect it?
The hose volume is filled when the pump is connected, and the valve mechanism is designed to minimise air loss during disconnection. A small gauge change is therefore normal and does not mean the entire displayed pressure escaped from the shock.
Is an MTB PSI calculator a final suspension setting?
No. A calculator should provide a repeatable starting point. Confirm the manufacturer’s limits, measure SAG with your normal riding equipment and validate the result on the trail before treating it as your working setup.
How do I set shock pressure safely?
Use a dedicated high-pressure shock pump, follow the exact frame and shock manual, make small changes and never exceed the stated maximum pressure. Check for leaks, damaged hardware or service symptoms before repeated adjustments.
Can I use a rider-weight PSI chart?
Use it only as a starting estimate. A chart cannot account for leverage ratio, air-spring design, volume spacers, riding position, equipment or the manufacturer’s model-specific recommendation.
How do I verify the result after using a PSI calculator?
Measure SAG at a stable temperature, check that the O-ring movement matches the intended baseline and ride a familiar section. Record pressure, rebound and conditions so the next change is controlled and reversible.